Precision cutting equipment improves steel defect analysis


REQUIREMENT
The origin of an indication within a steel sample using ultrasonic testing (UT) needed to be determined prior to the defect being assessed using Scanning Electron Microscopy (SEM) techniques.
SOLUTION
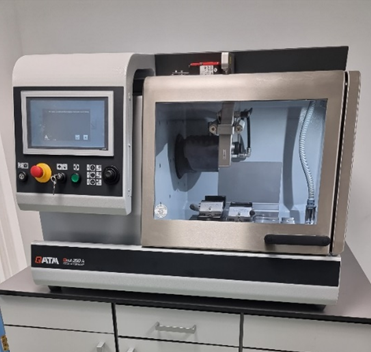
Precision cutting using the Institutes’ ATM Brilliant 220 abrasive wheel precision cut-off saw was carried out to locate the defect. The process involved sectioning of the sample by starting to cut at a position 7mm away from the indication and thin (0.3mm) sections being removed every millimetre until the indication was intercepted.
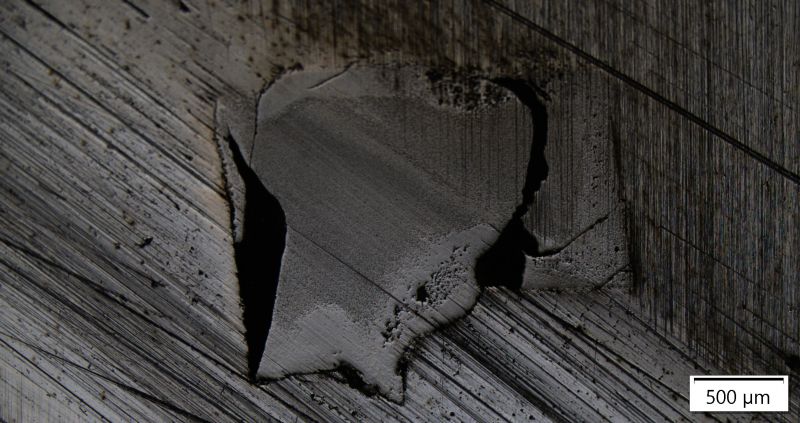
The indication, which was approximately 2mm in length, was visible by eye on the precision cut surface of the sample. The quality of the precision cut surface achieved on the sample meant that no additional grinding or polishing was required; this was beneficial as these processes could potentially damage the indication, or in the worst case, remove the indication entirely.
ANALYSIS
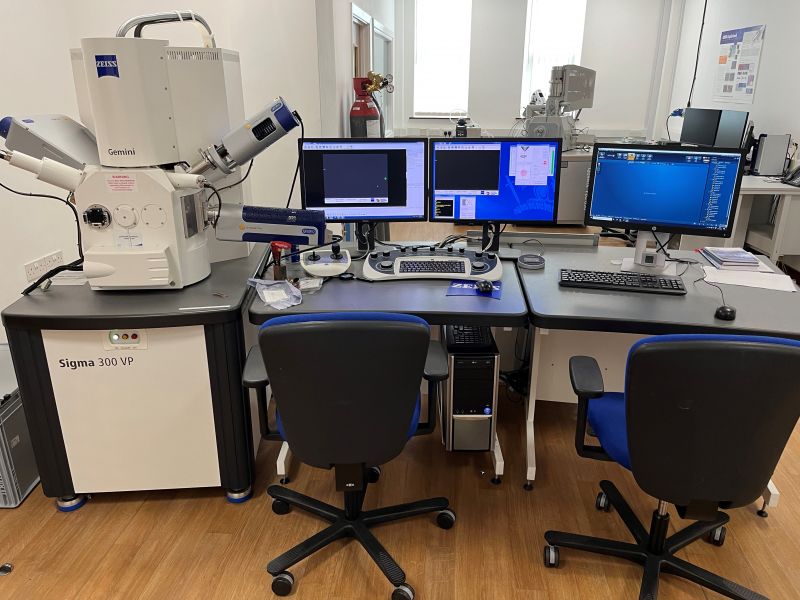
The defect was then analysed using Electron Diffraction Spectroscopy (EDS) detectors offering element analysis on the Institutes’ Zeiss Gemini Scanning Electron Microscope. SEM assessment and EDS analysis of the indication provided high magnification photographs and the chemical analysis of the indication from which its origin could be determined.
PRISM
Organisations can access funding for research and innovation projects through the PRISM programme, funded by Innovate UK and managed by the Materials Processing Institute. Funding is available for multi partner projects and projects for individual companies.
COMPLETE THE ENQUIRY FORM FIND OUT ABOUT FUNDING FOR A PROJECT - https://www.mpiuk.com/prism.htm
5 October 2023


